이번 글은 디비에 접근하는 코드 입니다.
mybatiseconfig 다시 셋팅
여기서
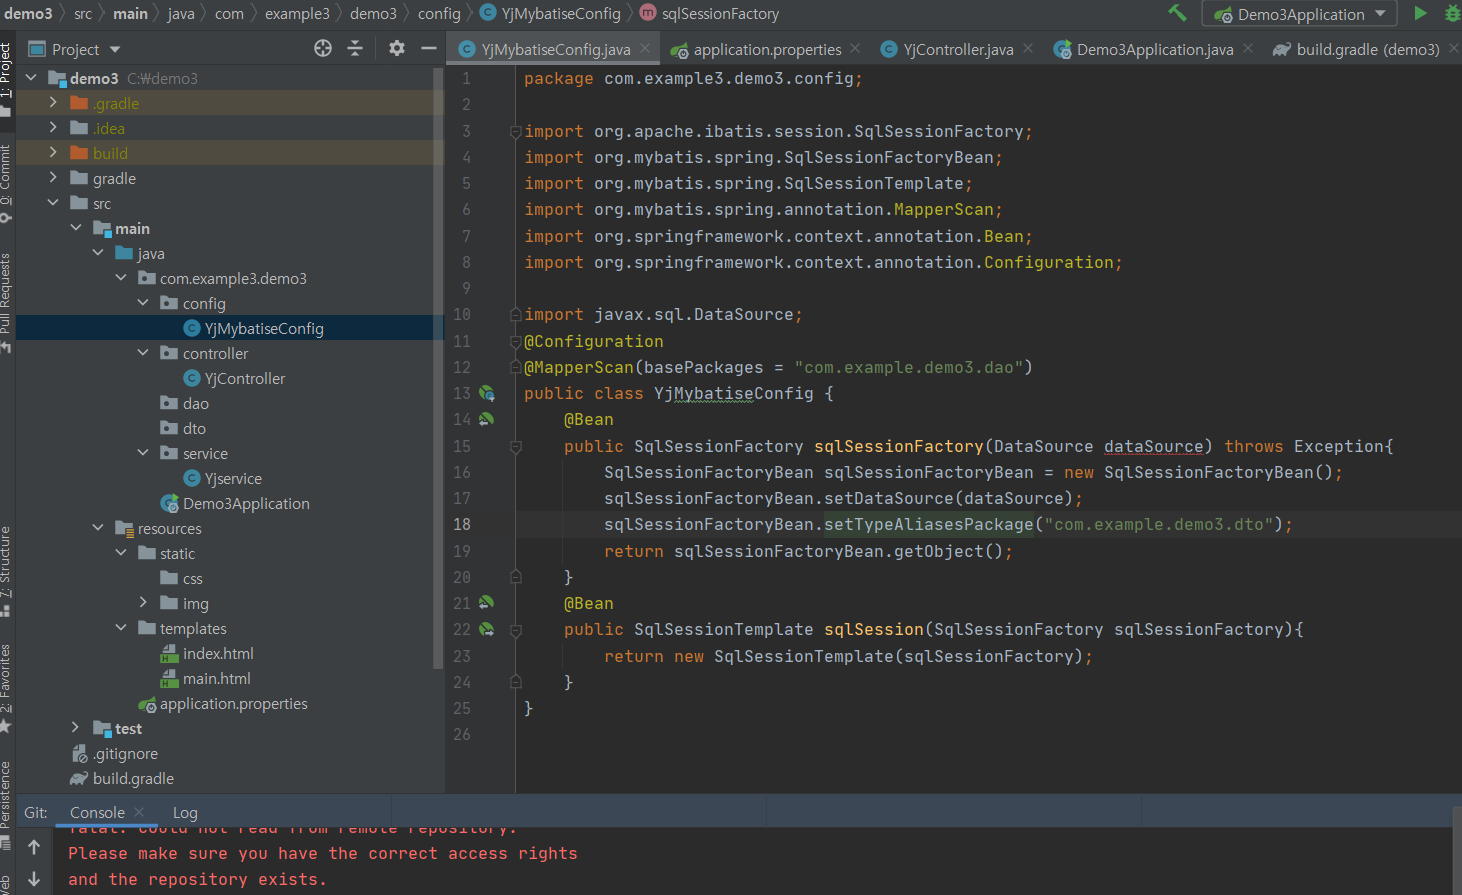
이걸로 변경해 준다. 마바 콘피그 셋팅은 다른 곳에서 참고한거라 정확히 알진 못하지만 basePackages 에 패키지명만 신경써주면 될것 같다
package com.example3.demo3.config;


import org.apache.ibatis.session.SqlSessionFactory;
import org.mybatis.spring.SqlSessionFactoryBean;
import org.mybatis.spring.SqlSessionTemplate;
import org.mybatis.spring.annotation.MapperScan;
import org.springframework.beans.factory.annotation.Qualifier;
import org.springframework.beans.factory.annotation.Value;
import org.springframework.boot.context.properties.ConfigurationProperties;
import org.springframework.boot.jdbc.DataSourceBuilder;
import org.springframework.context.ApplicationContext;
import org.springframework.context.annotation.Bean;
import org.springframework.context.annotation.Configuration;

import javax.sql.DataSource;
@Configuration
//패키지명
@MapperScan(basePackages = "com.example3.demo3.dao" , sqlSessionFactoryRef = "SqlSessionFactory")
public class YjMybatiseConfig {

    @Value("${spring.datasource.mapper-locations}")
    String mPath;

    @Bean(name = "dataSource")
    @ConfigurationProperties(prefix = "spring.datasource")
    public DataSource DataSource() {
        return DataSourceBuilder.create().build();
    }


    @Bean(name = "SqlSessionFactory")
    public SqlSessionFactory SqlSessionFactory(@Qualifier("dataSource") DataSource DataSource, ApplicationContext applicationContext) throws Exception {
        SqlSessionFactoryBean sqlSessionFactoryBean = new SqlSessionFactoryBean();
        sqlSessionFactoryBean.setDataSource(DataSource);
        sqlSessionFactoryBean.setMapperLocations(applicationContext.getResources(mPath));
        return sqlSessionFactoryBean.getObject();
    }

    @Bean(name = "SessionTemplate")
    public SqlSessionTemplate SqlSessionTemplate(@Qualifier("SqlSessionFactory") SqlSessionFactory firstSqlSessionFactory) {
        return new SqlSessionTemplate(firstSqlSessionFactory);
    }

}
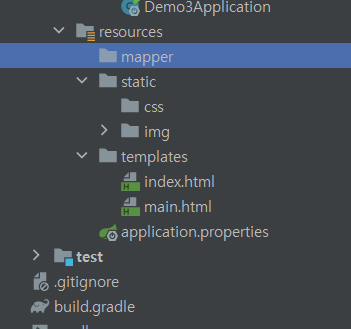
그 다음 resoures 안에 mapper 디렉토리 생성 후 mapper 안에 xml 파일 생성해준다.
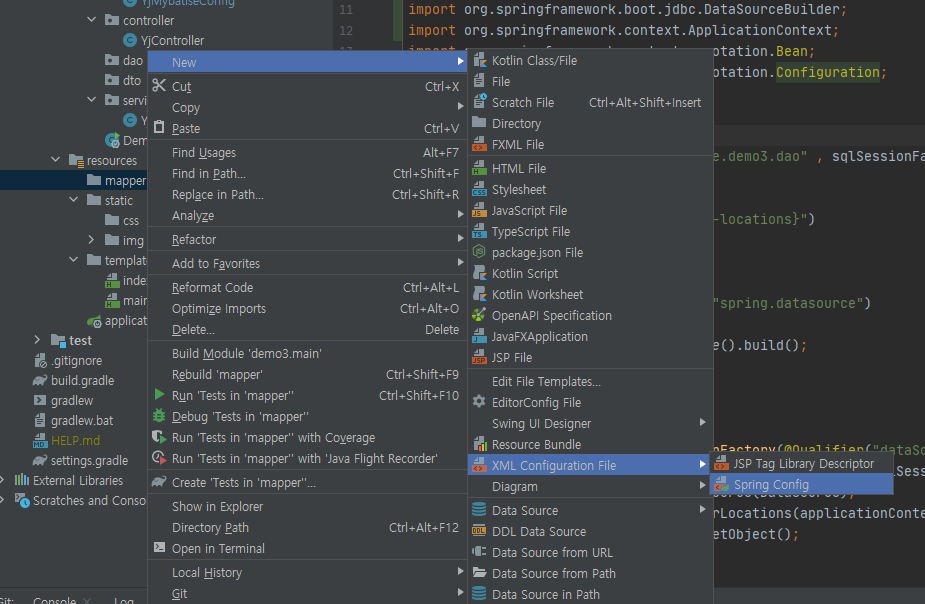
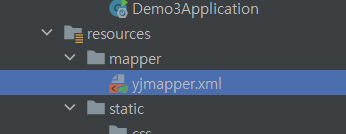
처음 만들면 이런식으로 채워지는데
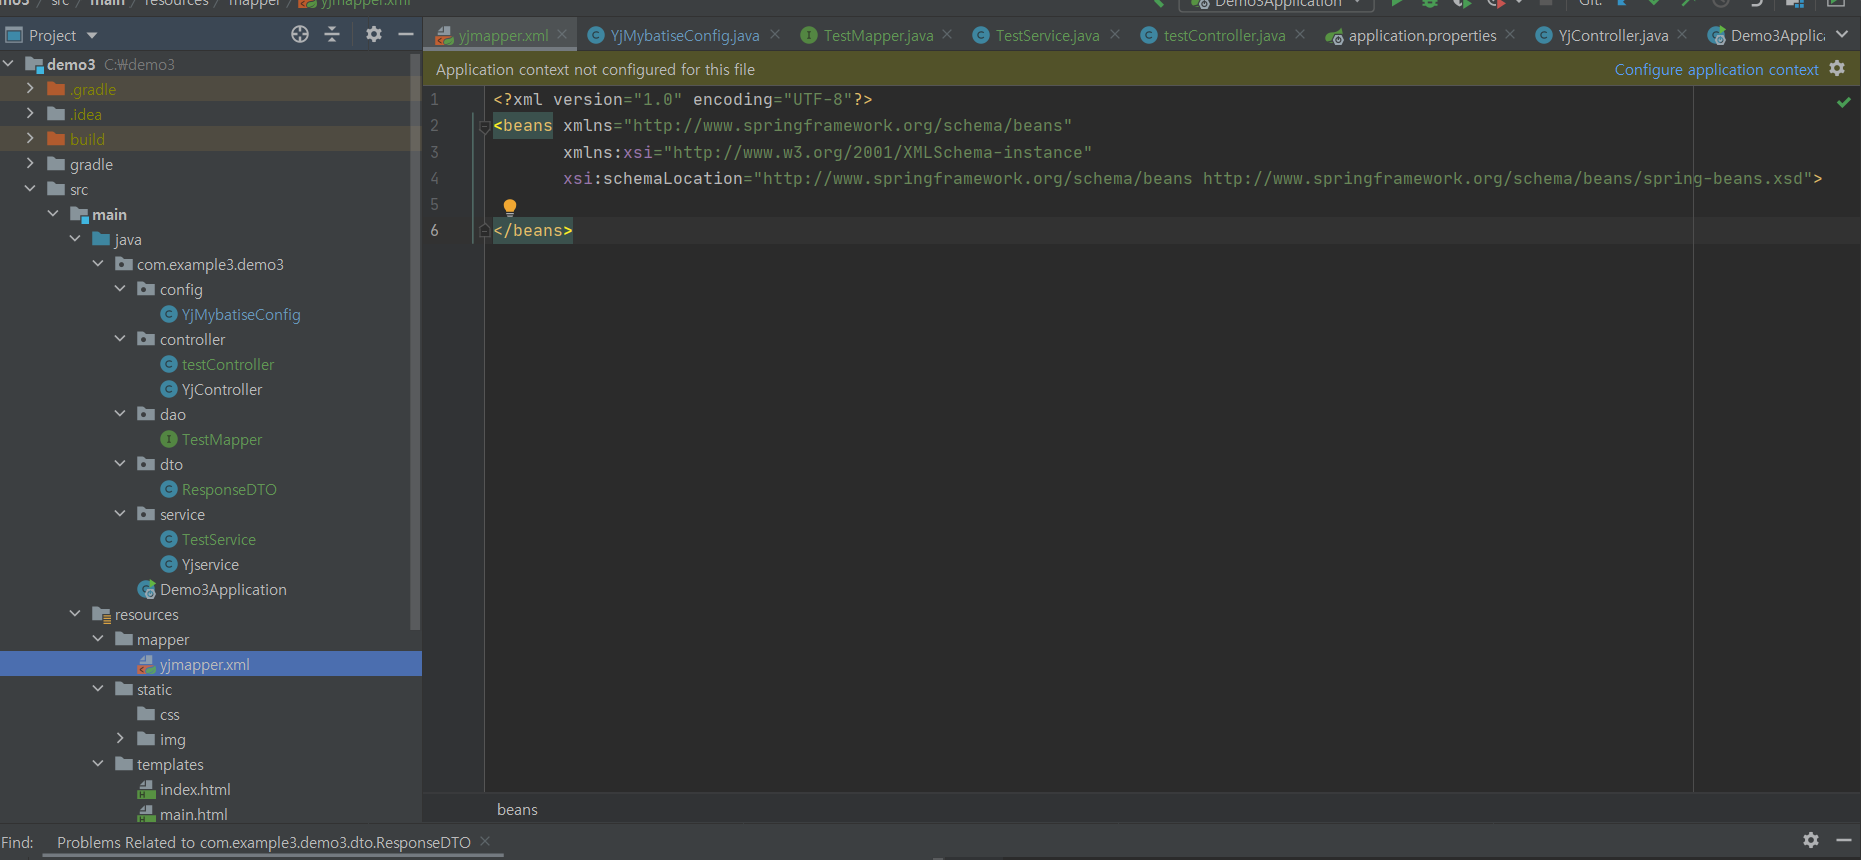
전부 지우고 이래로 채워준다
<?xml version="1.0" encoding="UTF-8"?>
<!DOCTYPE mapper PUBLIC "-//mybatis.org//DTD Mapper 3.0//EN" "http://mybatis.org/dtd/mybatis-3-mapper.dtd">
<mapper namespace="com.example3.demo3.dao.TestMapper">
// namespace 는 dao 경로와 맞춰준다
// id 는 dao 매서드명
    <select id="findAll" resultType="HashMap">
        select * from fd_user
	</select>

</mapper>
여기서 <mapper namespace는 좀 전에 만든 UserMapper Interface로 지정해야 합니다.
그리고 Mapper 인터페이스에 메서드명과 Mapper.xml에 id 값이 같아야 합니다.
그럼 findAll 메서드가 호출되면 Mapper.xml 에 id가 findAll select를 찾아 쿼리가 실행되고 resultType을 HashMap으로 하여 리턴 값을 HashMap으로 받고 하나의 데이터가 아닌 여러 데이터로 받기 때문에 ArrayList<HashMap<String, Object> 타입으로 받습니다.
그 다음 controller service dao를 만들어 주겠습니다.
우선 controller
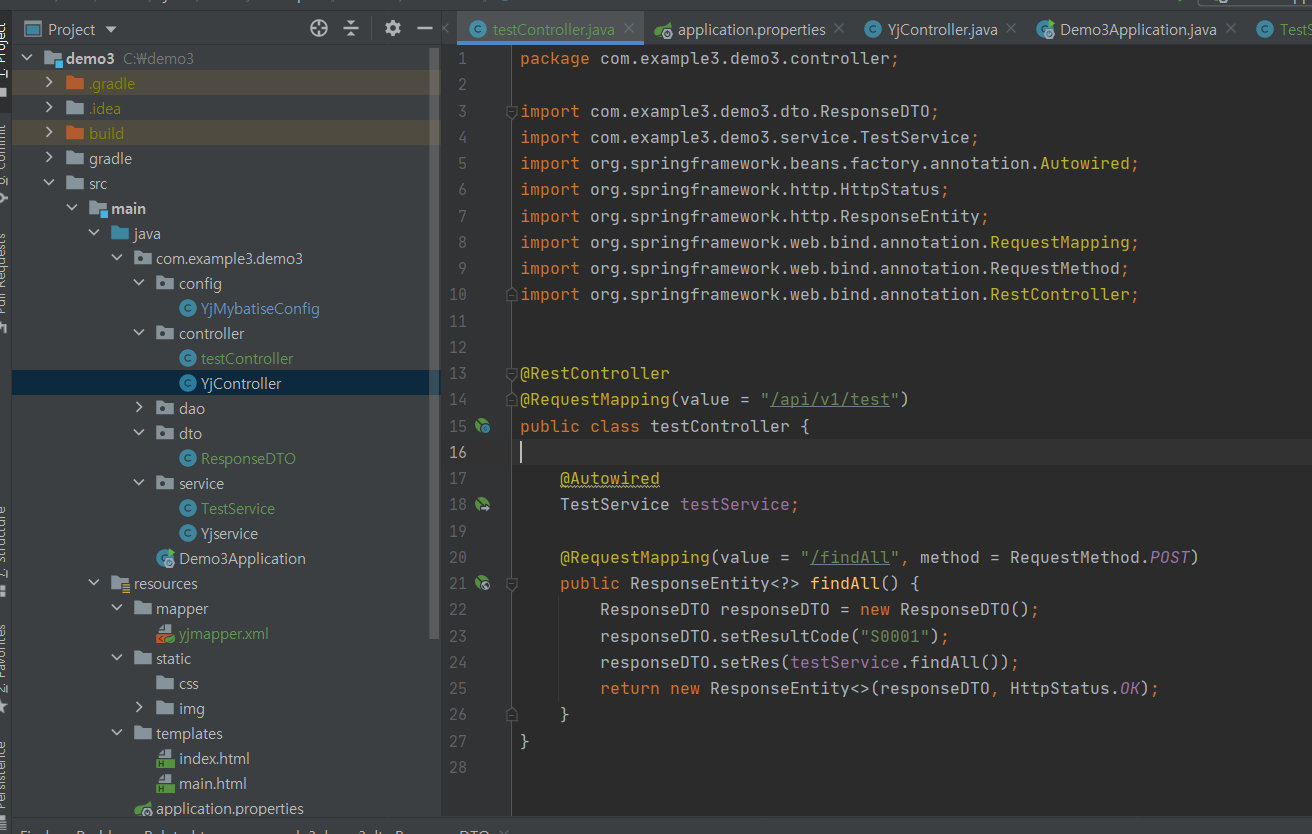
package com.example3.demo3.controller;

import com.example3.demo3.dto.ResponseDTO;
import com.example3.demo3.service.TestService;
import org.springframework.beans.factory.annotation.Autowired;
import org.springframework.http.HttpStatus;
import org.springframework.http.ResponseEntity;
import org.springframework.web.bind.annotation.RequestMapping;
import org.springframework.web.bind.annotation.RequestMethod;
import org.springframework.web.bind.annotation.RestController;


@RestController
// 보통 /api/v1/ 로 시작함
@RequestMapping(value = "/api/v1/test")
public class testController {

    @Autowired
    TestService testService;

    @RequestMapping(value = "/findAll", method = RequestMethod.POST)
    public ResponseEntity<?> findAll() {
        ResponseDTO responseDTO = new ResponseDTO();
        responseDTO.setResultCode("S0001");
        responseDTO.setRes(testService.findAll());
        return new ResponseEntity<>(responseDTO, HttpStatus.OK);
    }
}
service
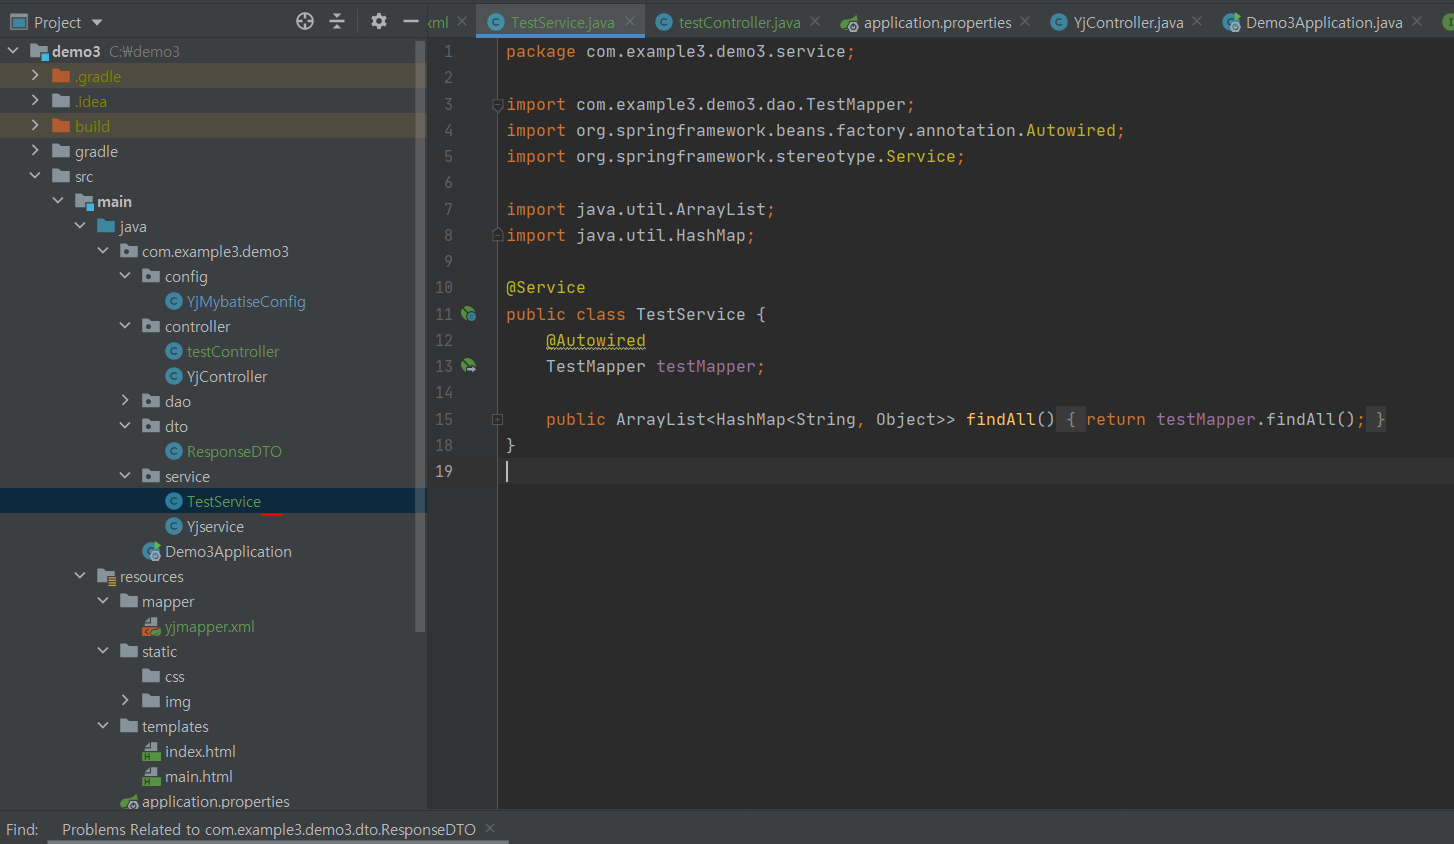
package com.example3.demo3.service;

import com.example3.demo3.dao.TestMapper;
import org.springframework.beans.factory.annotation.Autowired;
import org.springframework.stereotype.Service;

import java.util.ArrayList;
import java.util.HashMap;

@Service
public class TestService {
    @Autowired
    TestMapper testMapper;

    public ArrayList<HashMap<String, Object>> findAll() {
        return testMapper.findAll();
    }
}
dao
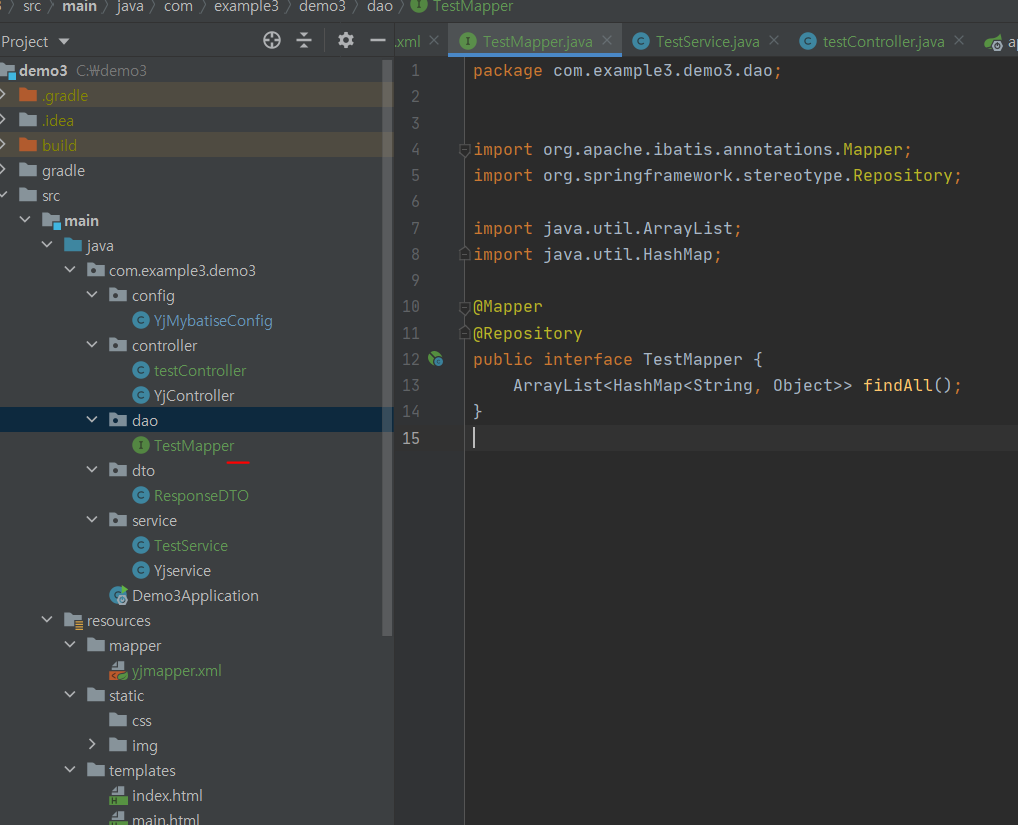
package com.example3.demo3.dao;


import org.apache.ibatis.annotations.Mapper;
import org.springframework.stereotype.Repository;

import java.util.ArrayList;
import java.util.HashMap;

@Mapper
@Repository
public interface TestMapper {
    ArrayList<HashMap<String, Object>> findAll();
}


// dao 는 인터페이스 입니다. *만드는법 우클릭 > new > java Class > interface 선택
그리고 properties 에 xml 경로 설정해 줍니다.
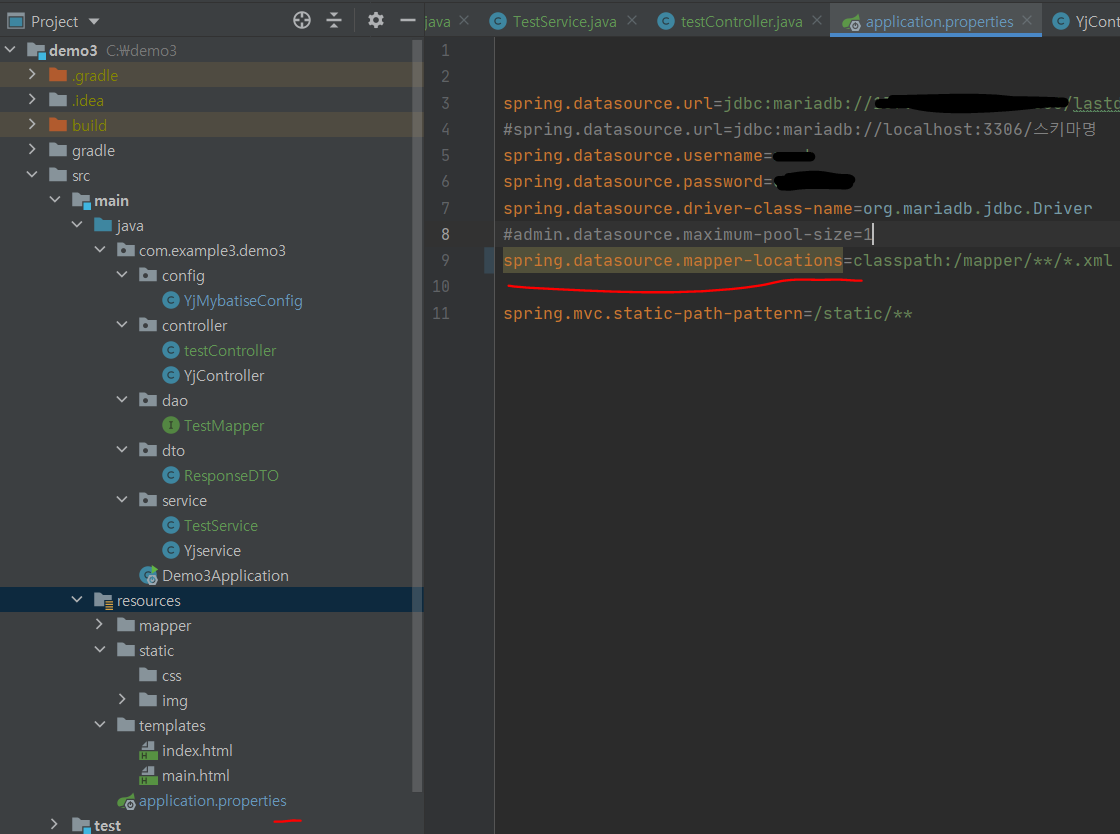
spring.datasource.mapper-locations=classpath:/mapper/**/*.xml
그리고 실행 시키면
defined in class path resource [org/springframework/boot/autoconfigure/orm/jpa/HibernateJpaConfiguration.class]:
Bean instantiation via factory method failed; nested exception is org.springframework.beans.BeanInstantiationException:
Failed to instantiate [org.springframework.orm.jpa.LocalContainerEntityManagerFactoryBean]:
Factory method 'entityManagerFactory' threw exception; nested exception is java.lang.IllegalArgumentException: jdbcUrl is required with driverClassName.
이런 에러가 나옵니다.
해결 방법은
application.properties 에서
spring.datasource.url=jdbc:mysql://localhost:3306/(스키마이름) 을
spring.datasource.jdbc-url=jdbc:mysql://localhost:3306 이렇게 바꿔주면 된다.
https://fishcoding.tistory.com/127?category=998569
[Error] jdbcUrl is required with driverClassName.
defined in class path resource [org/springframework/boot/autoconfigure/orm/jpa/HibernateJpaConfiguration.class]: Bean instantiation via factory method failed; nested exception is org.s..
fishcoding.tistory.com
출처 : https://dev-yujji.tistory.com/15
출처 : https://devncj.tistory.com/48
'intellij +springboot' 카테고리의 다른 글
| [intellij] 그래들 스프링부트 프로젝트 스프링 시큐리티(Spring Security) 로그인 해보기(gradle + springboot) - 5 (2) | 2022.10.07 |
|---|---|
| [intellij] 그래들 스프링부트 프로젝트 화면으로 데이터 가져오기(gradle + springboot) - 4 (1) | 2022.10.05 |
| [intellij]그래들 스프링부트 프로젝트 MariaDB 연결(gradle + springboot) - 2 (2) | 2022.10.04 |
| [intellij]그래들 스프링부트 프로젝트 시작하기(gradle + springboot) - 1 (0) | 2022.10.04 |
| intellij github 계정변경 (0) | 2022.02.03 |


